Add Jobs
Here are the steps to add Jobs in your pipeline with BuildPiper.
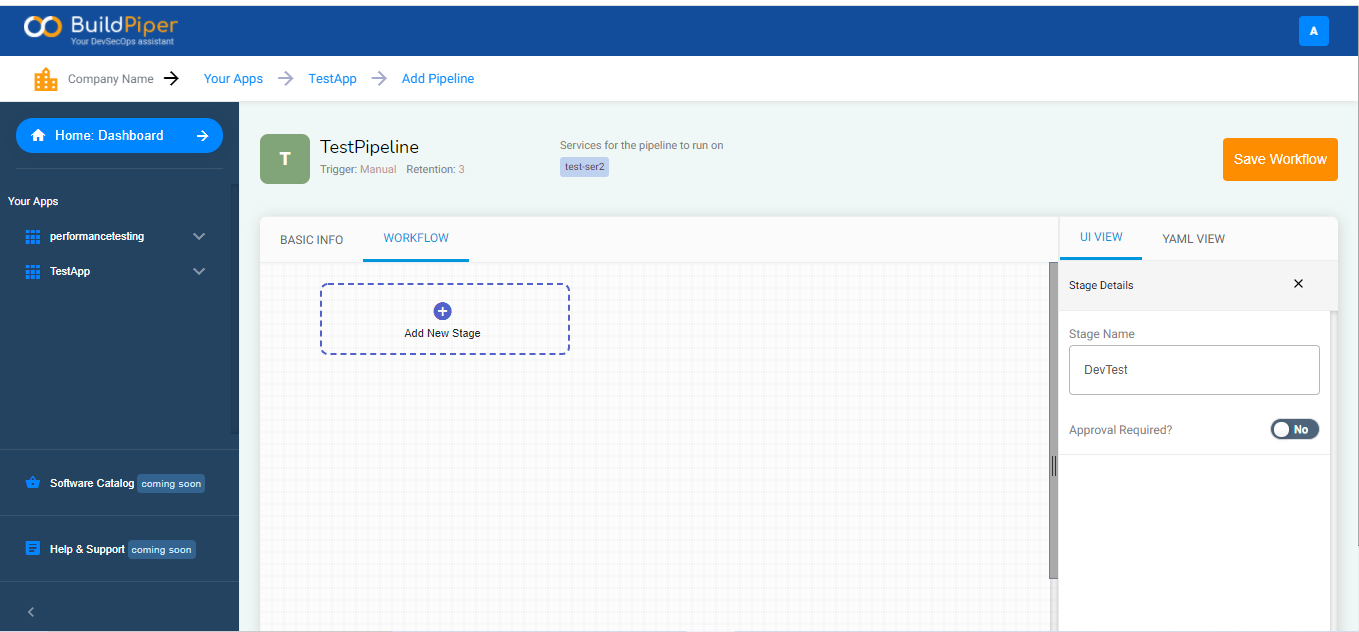
1. Enter a stage name.
2. Add a stage by clicking on the “Add” button.
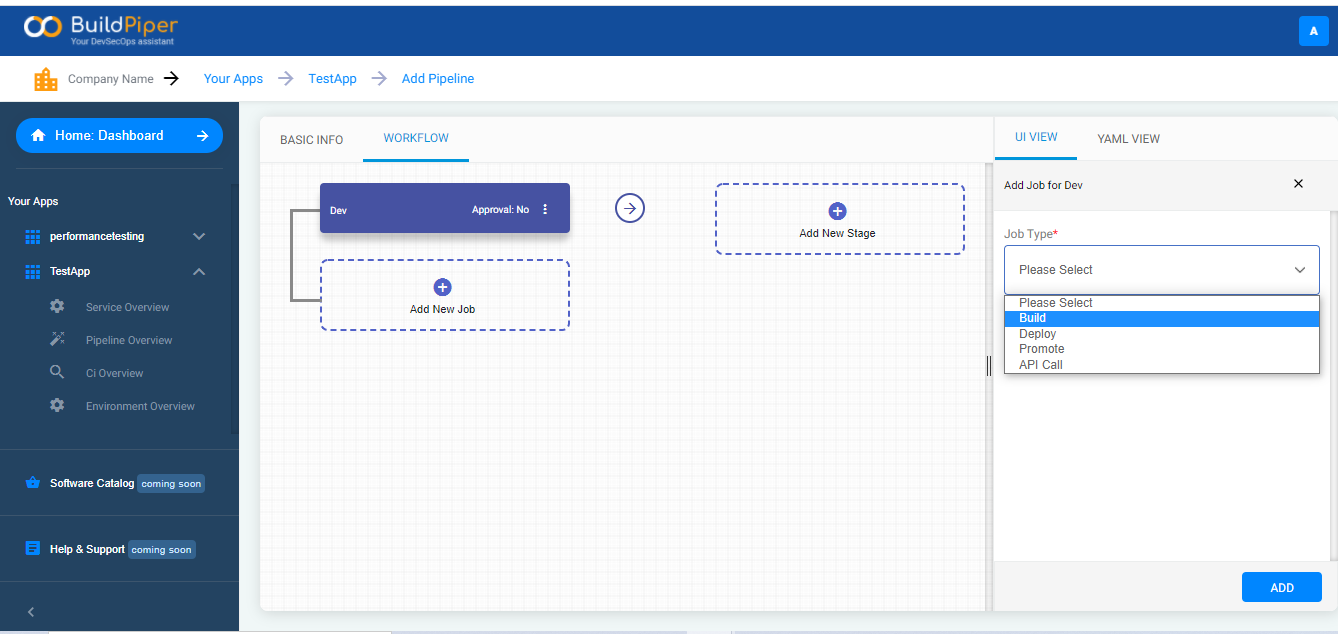
3. Click on “Add Job Type”to add a job.
4. Choose a job type. With BuildPiper, you can perform four Job Types that include,
- Build
- Deploy
- Promote
- API Call
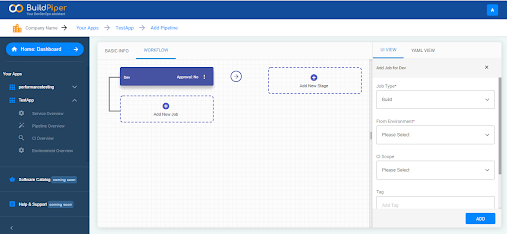
5. Build - With the Build Job type, you can schedule the build of your services within the different stages of the Pipeline. Here is how you can create and add this job type.
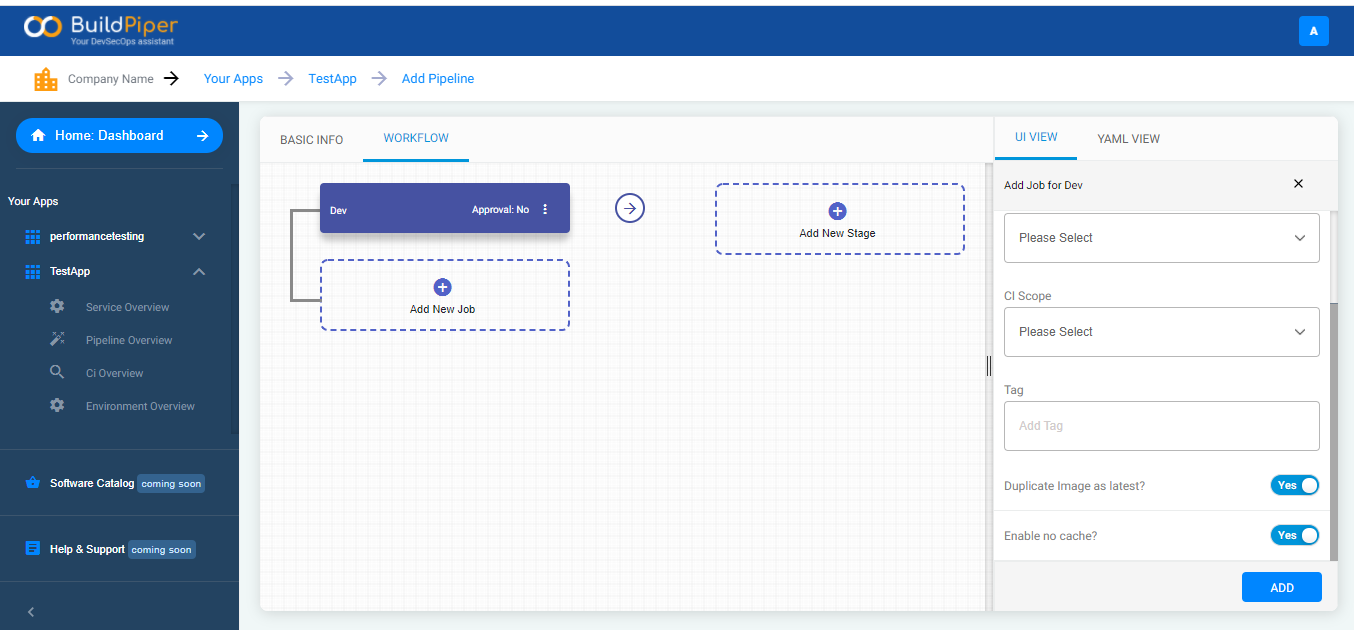
5.1 Select the environment where you want to build your services.
5.2 Specify the CI scope.
5.3 Tag the artifacts.
5.4 You can choose to duplicate an image as latest by selecting “Yes” and “No”, if you do not want to duplicate the image.
5.5 Choose either Yes/ No to enable and disable no cache respectively. If you enable no cache, the image will be built again irrespective of its existence in the system.
5.6 Finally, click “Add” to add the job in the pipeline.
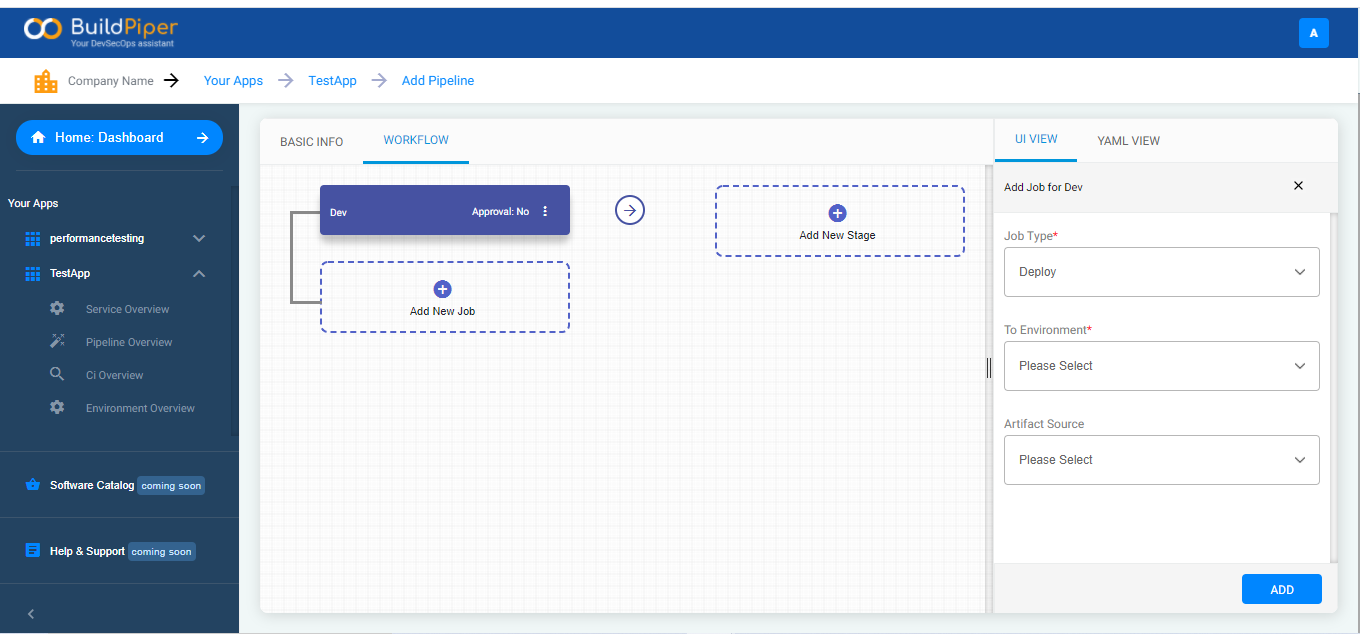
6. Deploy : This job type allows you to schedule deployment of your services within the different stages of the Pipeline. With BuildPiper, look how simple and easy it is to schedule deployment of your service.
6.1 Specify the Job type( Choose Deploy for deploying the services).
6.2 Select environment.
6.3 Choose the artifact source from,
- Latest - The artifact tagged as latest.
- Generated - The tag generated from the last build stage.
- Specify Tag - A specific tagged artifact that was built.
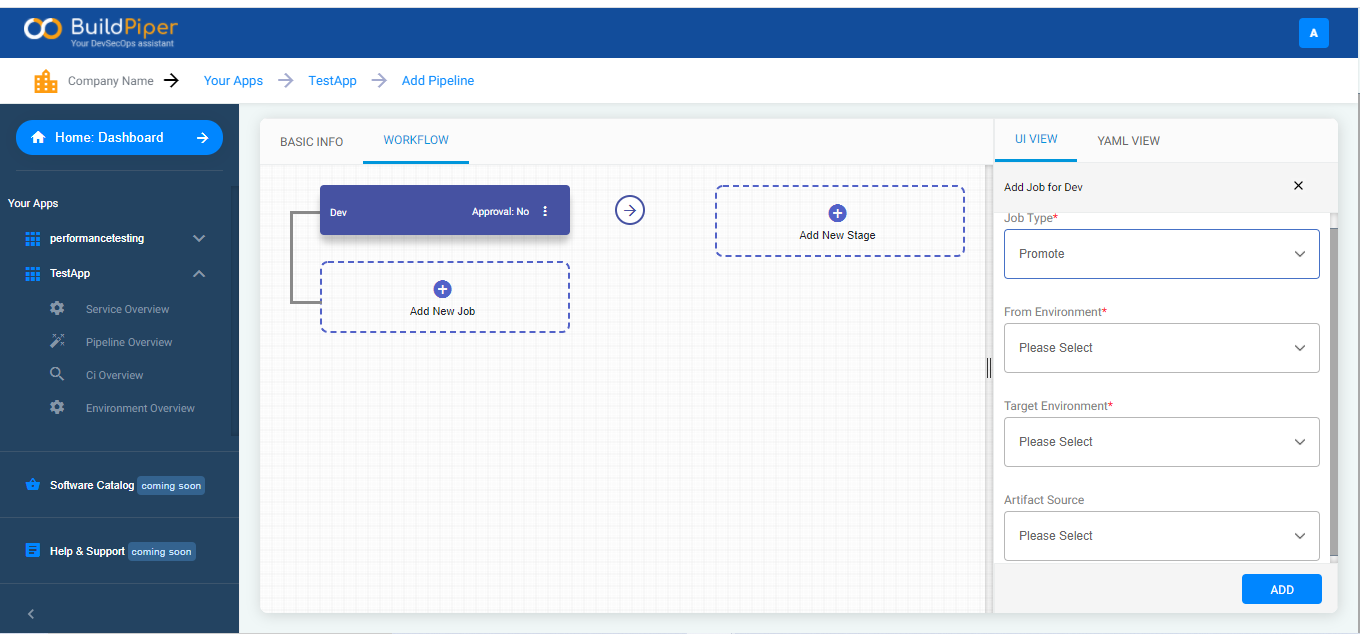
7. Promote : The “Promote”Job type allows you to deploy services in other environments. Here is how you can add and create this job type,
7.1 Choose the Job Type.
7.2 Select the environment where you’ve already deployed the services.
7.3 Specify the Target environment where you wish to deploy the services.
7.4 Choose the Artifact Source.
7.5 Finally, click on the “Add” button to add the job type in the pipeline.
8. API Call : In this job type, you can schedule a manual/automatic hit to an API for it to generate a response. You can create a GET or a POST request depending on the need of your service.
8.1 Choose API Call as the Job Type.
8.2 Select a method from,
- GET
- POST
8.3 Enter the API URL.
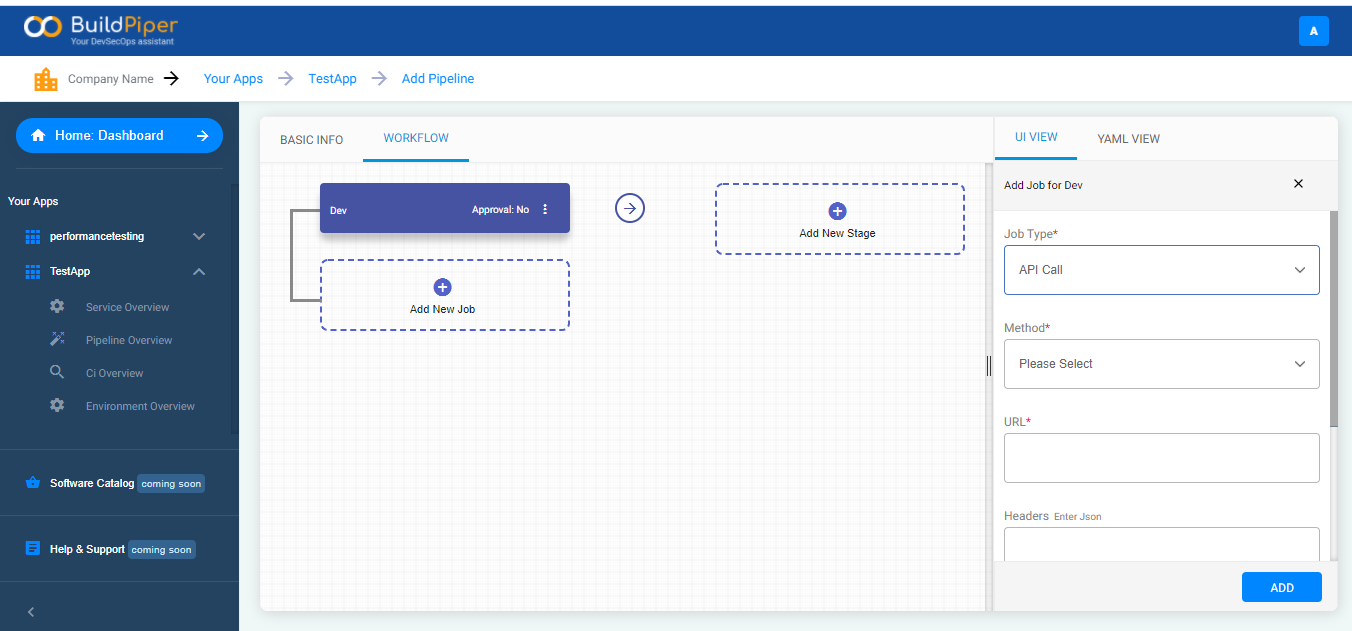
8.4 Fill in the header details in JSON format.
8.5 Specify the Request Time Out. Request Time Out is the time for which the job will wait for the response from the API once the hit has been made.
8.6 Choose “Yes” if you want to suspend the pipeline after the hit to the APi has been made and “No” if you want the pipeline to continue with the execution of jobs and stages.
8.7 Choose “Yes”to update the context parameters. In case, if you do not want to update the context parameters, you can select “No”.
8.8 Finally, click on the “Add” button to add this job type.
